The single fact that decides whether homemade injera works is one no restaurant menu prints: fermentation is measured in days, not hours, and no two published cooks agree on how many. This injera recipe reconciles four wild-fermented methods and three quick ones, so you can read the batter instead of the calendar. Across the sources aggregated here, the same 100% teff ferment is finished anywhere from 2 days to 5 days depending on your kitchen – which means a day count copied from someone else’s blog is the least reliable number you can follow.
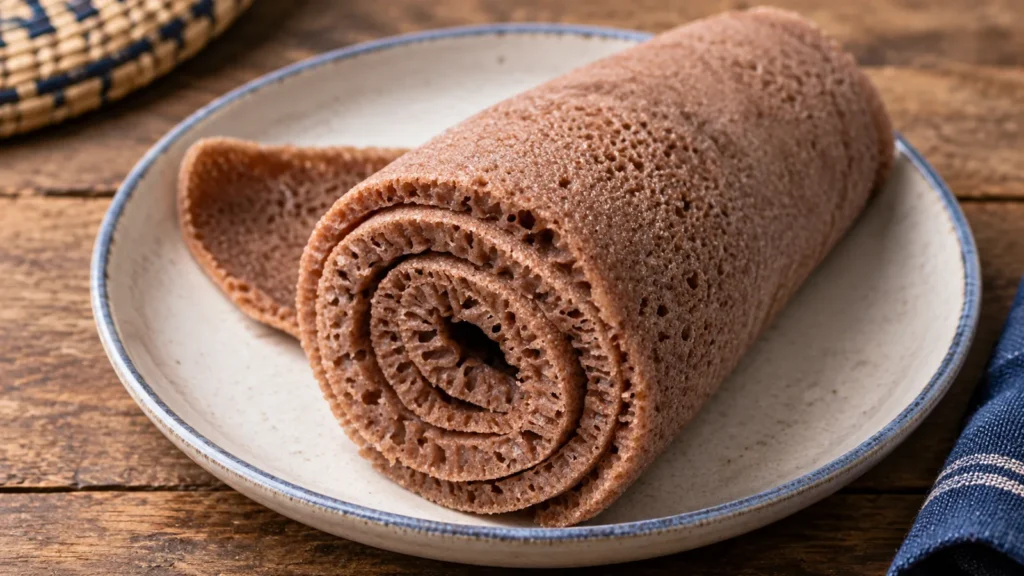
Injera is the sour, spongy flatbread at the base of Ethiopian and Eritrean eating, poured thin and eaten as both plate and utensil. Everything below traces to named published recipes; nothing here has been cooked by this desk. It is a transcription and cross-reference of what those cooks specify.
Quick answer: Traditional injera uses teff flour and water fermented undisturbed at room temperature. The Daring Gourmet ferments 4 to 5 days; Yang’s Nourishing Kitchen fermented for 2 days, a minimum of 48 hours; LinsFood and Kosher Cowboy call for 2 to 3 days. Judge readiness by liquid separating on top, a bubbly surface, and a sour smell sharper than sourdough – not the day number. Cook at roughly 325 to 350°F. A batter that lumps can be corrected with 40 g (¼ cup) rice flour. Pure teff will not mimic fluffy restaurant injera, which relies on wheat blends.
Which country’s injera this follows, and whose recipe
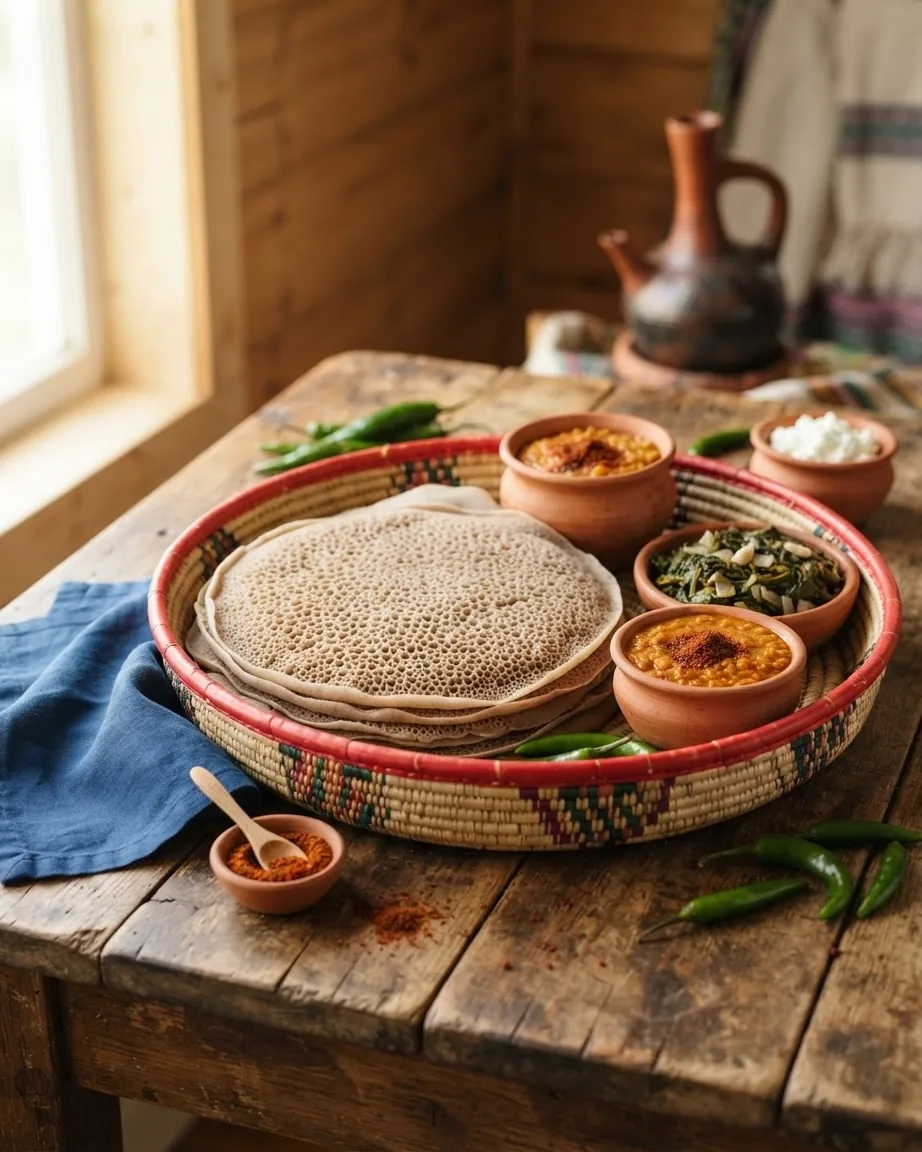
Injera belongs to Ethiopia and Eritrea, where teff (ጤፍ) is the grain of record. The version documented here is the East African home method built on wild fermentation, not a same-day restaurant adaptation. That distinction is stated plainly by The Daring Gourmet, which notes that using mostly or all teff – the traditional Ethiopian approach – will not produce the spongy, fluffy injera served in most restaurants, because those are adapted with wheat.
The recipe below is assembled from published sources rather than a single kitchen: The Daring Gourmet and Yang’s Nourishing Kitchen for 100% teff wild ferments; LinsFood (Azlin Bloor) for the absit step and flour blends; Teff Company (Maskal Teff) for the starter-driven traditional formula; and Kosher Cowboy for the quick-yeast shortcut. Where they disagree, the disagreement is the useful part, and it is spelled out rather than averaged away. For the wider tradition these breads sit inside, see this desk’s African recipes section.
Ingredients for 100% teff injera
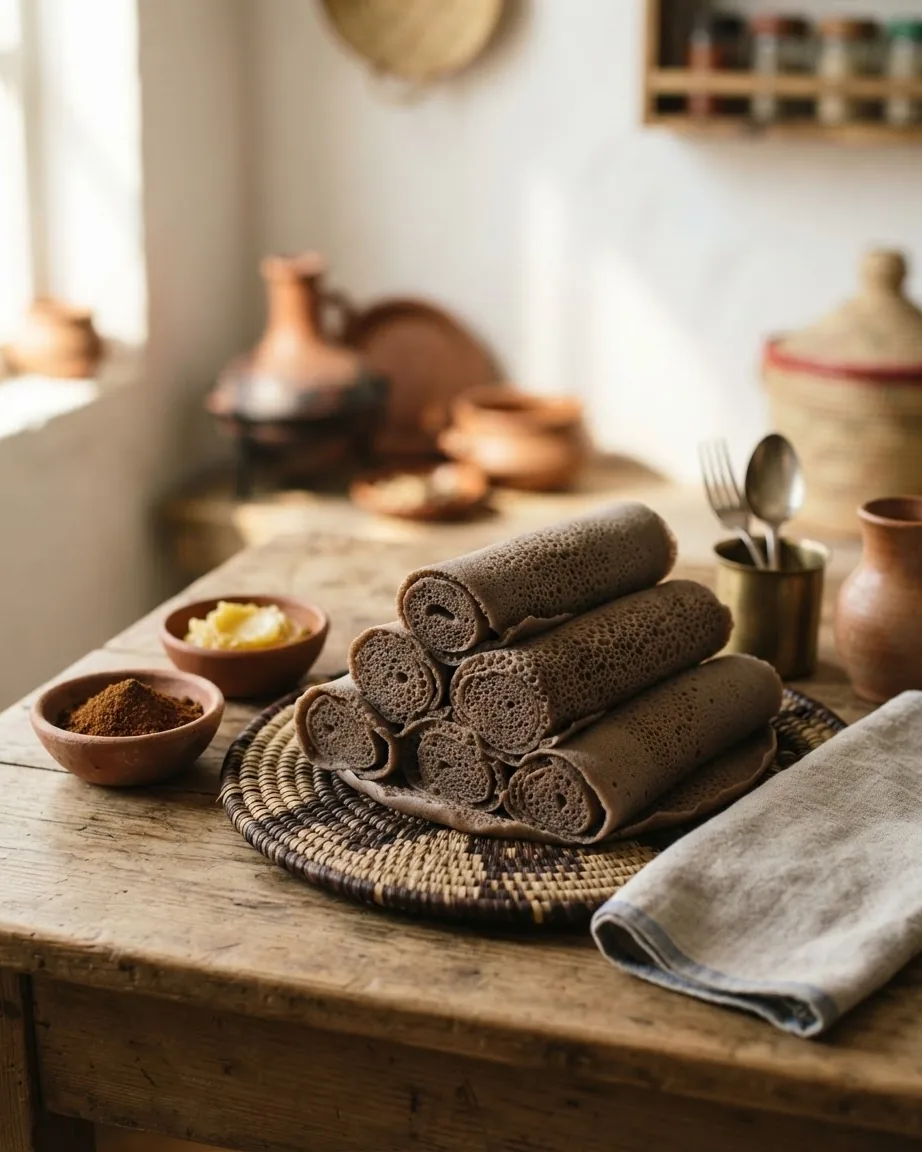
This block is the traditional wild-ferment formula as published by The Daring Gourmet, with Yang’s Nourishing Kitchen supplying the finishing quantities. It is cookable on its own; the numbered steps follow directly.
A blend option, from LinsFood and Kosher Cowboy, swaps a portion of teff for rice or plain flour: for a quick batch, 8 oz teff plus 8 oz plain or rice flour. The Daring Gourmet recommends a teff-and-barley or teff-and-wheat combination for first-timers, since 100% teff is more challenging to handle. What that swap changes is covered in its own section below – it is not a free substitution.
Method: fermenting and cooking the injera recipe step by step
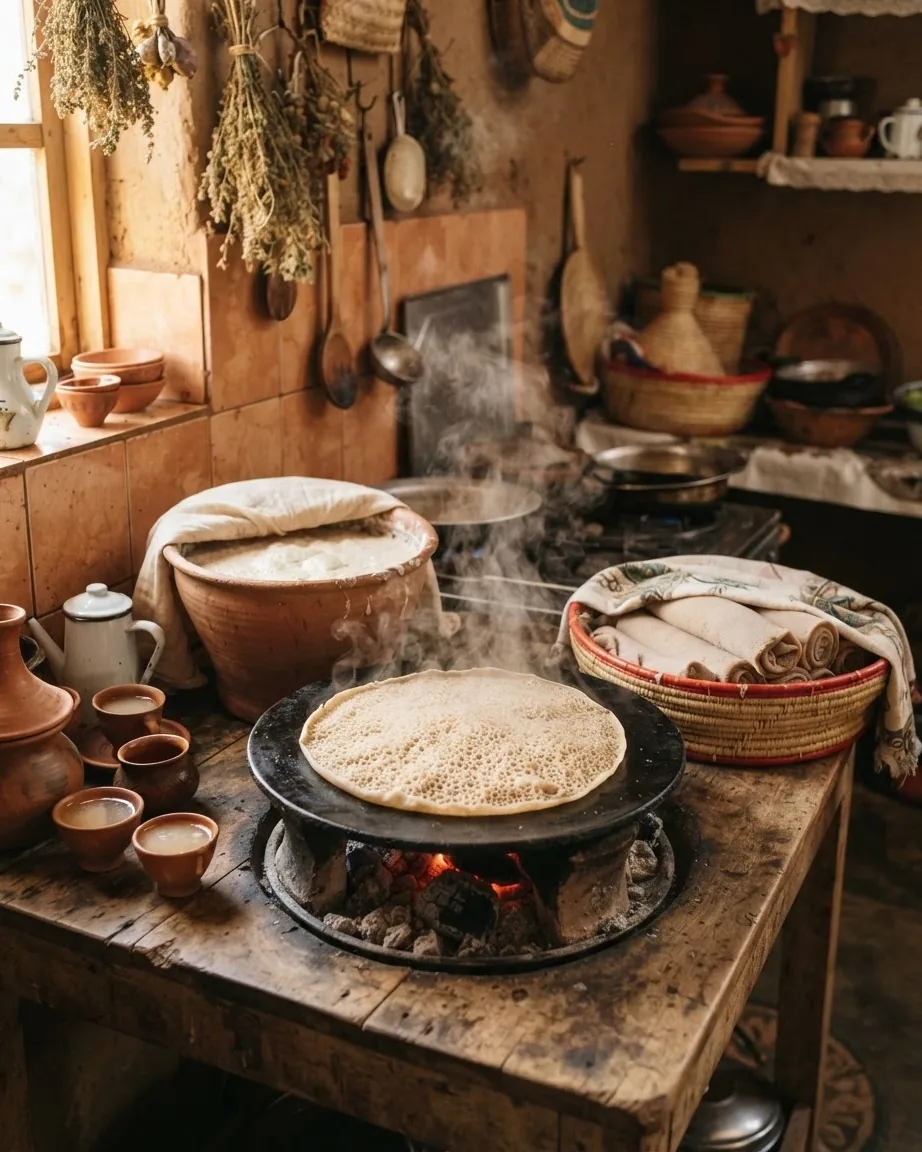
Each step is one action. Temperatures and durations are carried verbatim from the sources; the wording is this desk’s own. The make-or-break clause in each step explains what the heat, the rest, or the order is doing.
Why the fermentation runs 2 to 5 days, and how to read it
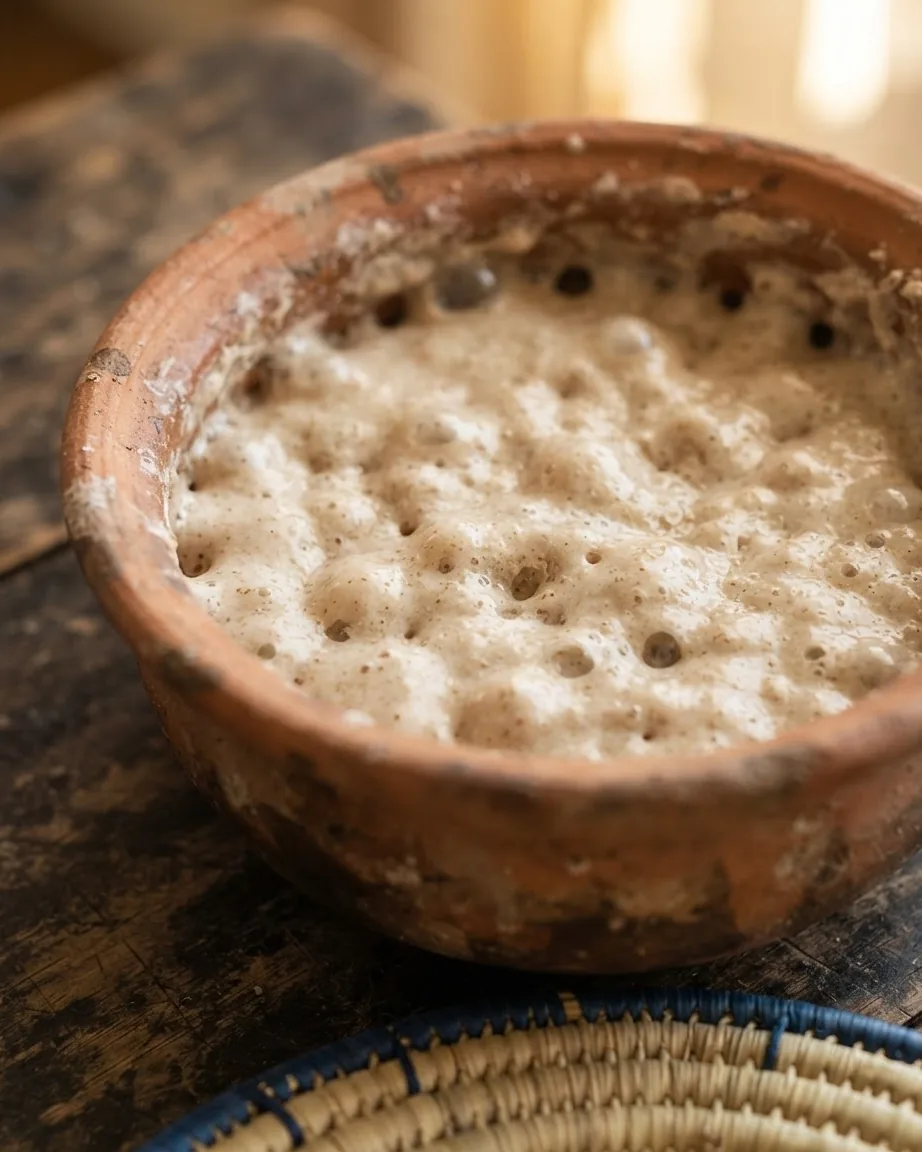
The clearest gap in most injera writing is the pretense that fermentation has a fixed length. It does not. Yang’s Nourishing Kitchen fermented 2 days, a minimum of 48 hours. LinsFood and Kosher Cowboy state 2 to 3 days – Kosher Cowboy is blunt that to properly ferment, the batter must sit on your counter for 2 to 3 days. MyFermentation gives 3 to 5 days, and The Daring Gourmet lets it sit up to 5 days, longer for deeper flavor. That is a spread of more than double.
Teff Company attributes the range to ambient temperature and season, and to the grain itself: ivory teff ferments faster than brown. A warm summer kitchen finishes near the short end; a cool one drifts toward five days. This is why a borrowed day count fails and a sensory check does not.
MyFermentation reports that a fully fermented teff batter can reach a pH around 3.4, and that longer fermentation lowers the glycemic index as the microbes consume simple sugars. You will not measure pH at home, but the markers that track it – liquid separation, steady bubbling, a sour smell more pungent than sourdough (LinsFood’s comparison) – tell you the acid has developed. Stop when those appear, whatever day it is.
Commercial yeast and the absit step: two decisions the sources split on
Two shortcuts divide the published cooks, and both are worth deciding deliberately.
On yeast: The Daring Gourmet presents commercial yeast as a legitimate optional accelerator, while noting it suppresses the wild yeast. MyFermentation argues the opposite – that adding yeast will not produce a traditional result, because genuine injera fermentation is primarily bacterial, not a yeast rise. The resolution depends on your goal. If you want the deep sour of a wild ferment, skip the yeast; if you need injera tonight, a quick method with 2 tsp dry active yeast resting about 1 hour, plus a 20-minute stand after hot water is added, will give you a bread – but not that tang.
On the absit: LinsFood builds it into the traditional method as standard. You boil 250 ml water, whisk in 80 ml of the fermented batter to a thick porridge, cool it about 1 hour, then blend it back into the rest. It gelatinizes some starch and improves pliability, so the injera folds without cracking. MyFermentation and The Daring Gourmet agree it helps, but MyFermentation notes plainly that skipping it still makes good injera. So absit is an upgrade, not a requirement – build it in if your injera tears when rolled.
Flour blends: why pure teff won’t taste like the restaurant’s
Readers who chase the light, fluffy injera from a restaurant and then fail with 100% teff are chasing two different breads. The restaurant version leans on wheat. The Daring Gourmet is explicit that all-teff injera will not match the spongy texture of adapted restaurant versions, and recommends beginners blend teff with barley or wheat because 100% teff is harder to work with.
Teff itself is the reason to bother with the pure version. MyFermentation reports that a quarter-cup of uncooked teff carries 7 grams of protein and about 20% of the recommended daily iron. If you want that iron in a bioavailable, fermented form and eat gluten-free, note that teff is naturally gluten free – the wheat or barley blend reintroduces gluten. For general context on how the body uses this mineral, the NIH Office of Dietary Supplements maintains a consumer fact sheet on iron.
What the blend changes: rice flour adds structure without gluten and is the standard fix for a batter that has gone gummy or lumpy – LinsFood blends in 40 g (¼ cup) rice flour to toughen a batter that has turned to a lump. Plain wheat flour lightens the crumb toward the restaurant texture but sacrifices the pronounced sourness and makes the bread heartier and less delicate. Neither blend is more authentic; the all-teff ferment is the traditional one, the blends are documented adaptations.
Fixing injera that sticks, gums, or won’t bubble
Failures on the skillet trace to two variables – pan temperature and batter consistency – and the published recipes let you separate them.
- Sticking to the pan. MyFermentation attributes this to heat that is too low; the target is about 325 to 350°F on an electric skillet. Grease generously with ghee or oil and confirm the surface is fully preheated before the first pour.
- Large, coarse bubbles instead of an even honeycomb. The heat is too high. Bring the temperature down into the 325 to 350°F band so the bubbles rise fine and steady.
- Gummy or lumpy batter. Blend in 40 g (¼ cup) rice flour, per LinsFood, to firm up the structure, and make sure the batter pours as thin as crepe batter before you use it.
- No air pockets forming. Under-fermentation is the usual cause – the ferment has not built enough acid or gas. Give it another day and look again for surface bubbling and liquid separation. Air pockets should appear on the pan at about 30 seconds; if they never come, the batter was not ready.
- Mushy top. Covering too early or a batter poured too thick. Hold the 6 mm thickness and let the surface begin to set before the lid goes on.
Telling harmless ferment from a batch to throw out
A working teff ferment smells aggressively sour and grows a bubbly, sometimes foamy surface – LinsFood describes a smell more pungent than sourdough, and that is expected. What is expected is not the same as fuzzy or colored growth. If your batter develops visible mold – spots that are green, black, pink, or fuzzy – treat that as spoilage, not fermentation.
Allergen warning
USDA’s Food Safety and Inspection Service, in its guidance on molds on food, warns that some molds cause allergic reactions and respiratory problems and that a few produce mycotoxins. It also cautions against sniffing moldy food, since spores can be inhaled. A sour smell with a clean, bubbling surface is your ferment; visible mold is a discard. When in doubt, start a fresh batch – teff and time are cheap next to a ruined stomach.
Storing cooked injera and holding batter as a starter
Two storage questions come up, and LinsFood gives numbers for both. Cooked injera can be frozen for up to 3 months; stack the cooled breads with a barrier between them so they separate cleanly. Reserved fermented batter keeps in the refrigerator up to 1 week and works as a starter for the next batch, the same role the Teff Company’s traditional formula gives its roughly 2 cups injera starter – a live culture that jumpstarts the following ferment and shortens it.
That starter is why regular injera makers rarely begin from scratch after the first success: the Teff Company’s traditional method ferments its final batter only about 3 to 5 hours before cooking because the roughly 2 cups of established starter has already done the microbial work. Hold back batter, feed it, and your five-day first ferment becomes an afternoon on every batch after.
The platter injera anchors, and a sourcing note
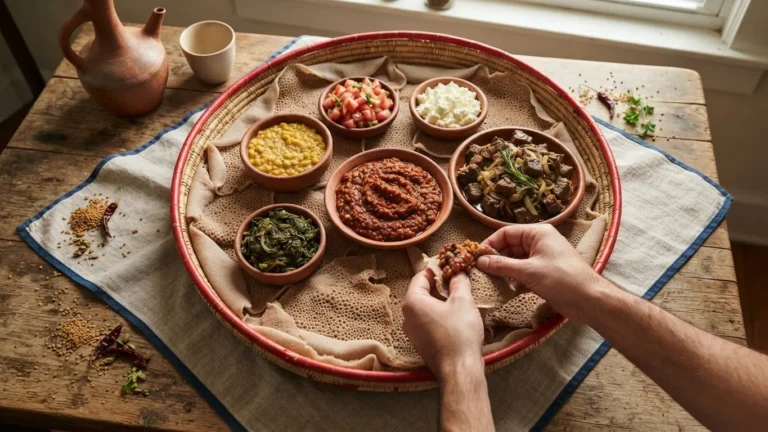
Injera is rarely eaten alone. It carries wat (ወጥ) – the slow-simmered stews whose base is onion cooked down long and dry before any liquid, never rushed – and the heat of those stews is set by berbere, the chili-and-spice blend that ranges from warm to genuinely hot depending on the mix. Alongside the wat sit tibs (sautéed meat) and kitfo, the Ethiopian raw or lightly warmed minced beef dish.
Kitfo and any raw-meat preparation carry a real safety line: they depend entirely on the freshness and handling of the meat, and they are not a dish to improvise with supermarket ground beef. Source from a butcher you trust, keep it cold until the moment it is served, and understand that raw beef carries pathogen risk that no seasoning removes. If that risk is not one you want, kitfo is also served leb leb – warmed through – which is the more cautious choice. Injera’s role across all of it is the same: torn, not cut, and used to scoop.
For other plates where a fermented or starch base does the same structural work, this desk’s Dal Bhat Recipe and Gallo Pinto Recipe document comparable full-plate builds kept in their regional forms.
FAQ
Can I use tap water for the ferment?
The Daring Gourmet calls for distilled water because both chlorine and fluoride interfere with fermentation, and chlorinated tap water can stall the wild microbes you are trying to grow. If you only have tap water, let it sit out uncovered several hours so chlorine dissipates, though distilled or filtered water gives a more reliable start.
Why is my injera dense instead of spongy?
Two likely causes: the ferment did not build enough acid and gas, or you used all teff expecting a restaurant texture. Restaurant injera usually contains wheat. For a lighter crumb, blend in plain flour; for the traditional sour sponge, ferment longer and watch for heavy surface bubbling before cooking.
Do I have to make the absit?
No. LinsFood treats the boiled-batter absit as standard for pliability, but MyFermentation states that skipping it still yields good injera. Make it if your bread cracks or tears when you fold it: boiling 250 ml water and whisking in 80 ml batter, then blending it back, gelatinizes starch and adds flexibility.
Is teff injera gluten-free?
100% teff injera is gluten free, since teff naturally contains no gluten. That changes the moment you add the barley or wheat blend that The Daring Gourmet suggests for beginners, or the plain flour in quick versions. Keep it strictly teff, or teff with rice flour, to hold it gluten-free. How long can I keep injera and its batter? LinsFood gives up to 3 months in the freezer for cooked injera and up to 1 week in the refrigerator for reserved batter kept as a starter. The cooked bread freezes best stacked with a barrier between rounds so they lift apart; the held-back batter is a live culture that shortens your next ferment. Which teff should I buy, ivory or brown? Both work. Teff Company notes ivory teff ferments faster than brown, so if your kitchen runs cool or you are impatient, ivory will reach readiness sooner. Brown teff carries a deeper, earthier flavor. The ingredient list above works with either; the fermentation signs to watch for are the same regardless of variety. The through-line across every source gathered here is a single instruction: stop trusting the day count and start reading the batter. A ferment is finished when the teff has settled, liquid has separated on top, the surface bubbles, and the smell has turned sharply sour – whether that lands on day two or day five. Pick the wild ferment for traditional tang or a yeast shortcut for speed, add the absit only if your bread cracks, and hold back a cup of batter so every batch after the first begins from a living starter rather than from scratch.
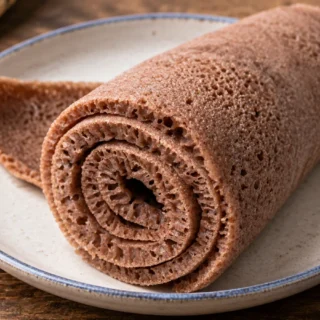
Injera Recipe: What the Fermentation Timeline Actually Depends On
Ingredients
- 2 cups teff flour (ጤፍ), brown or ivory
- 3 cups distilled water for the ferment (chlorine and fluoride both interfere with fermentation)
- ½ cup fresh filtered water, added after fermentation to thin the batter
- ¾ teaspoon salt
- ½ teaspoon baking soda (optional, to soften the final tang)
- ¼ cup ghee, or any neutral oil, for greasing the skillet
Instructions
- Combine 2 cups teff flour with 3 cups distilled water in a glass or ceramic bowl and stir smooth. Distilled water matters here because chlorine and fluoride suppress the wild microbes that drive the ferment.
- Cover the bowl with a breathable cloth or loosely laid plastic wrap – it needs air circulation, not a seal – and leave it undisturbed at room temperature.
- Ferment for at least 48 hours and up to 5 days, checking daily. It is ready when the teff has sunk, a layer of liquid has separated on top, the surface bubbles, and the smell is sharply sour. The day count is a range, not a rule; readiness is judged by these signs.
- Pour off the separated liquid from the top – Yang’s method discards roughly 1¾ cups of foam and liquid. This removes excess acidity and concentrates the batter.
- Stir in ½ cup fresh filtered water, then the salt and optional baking soda, until the batter runs like thin crepe batter. Baking soda is a flavor choice: it neutralizes some tang and is not part of a pure traditional ferment.
- Grease a preheated cast-iron skillet or non-stick griddle and set it to medium; on an electric skillet target about 325 to 350°F. Too high blows large bubbles, too low makes the batter stick.
- Pour the batter from about 6 inches above the pan in a circular motion, working outward, to a thickness of roughly 6 mm. The height and the spiral pour spread it evenly before it sets.
- Do not flip. Cover with a lid and cook on medium for about 3 to 5 minutes, until air pockets rise across the surface – around 30 seconds in – and the top is dry to the touch, never wet. Steam under the lid cooks the top so no flip is needed.