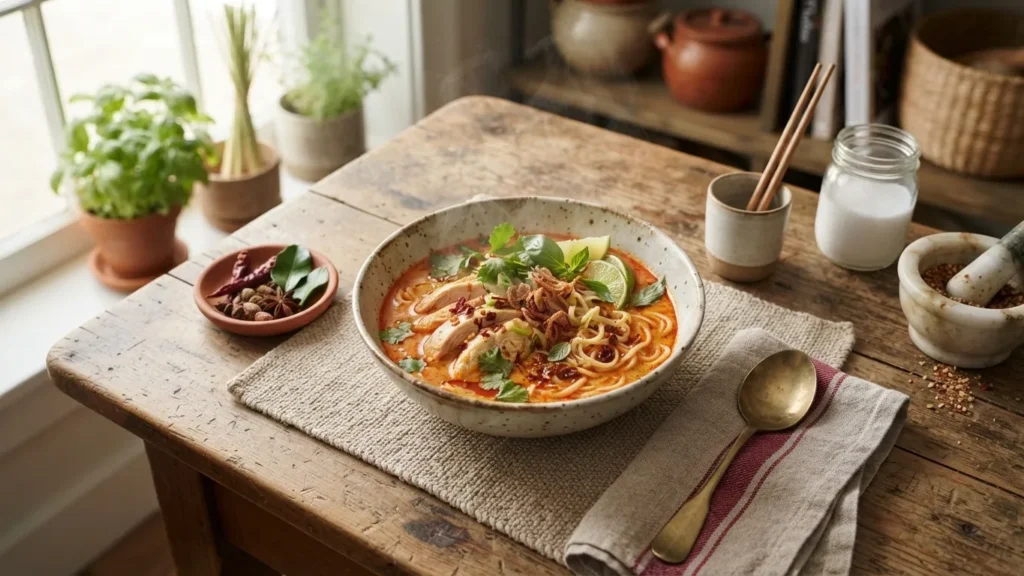
Two published test kitchens independently treat one step as make-or-break, and it is not the simmer: frying the red curry paste in oil before any liquid goes in. Get that wrong and the finished bowl tastes flat no matter how long it cooks. This guide to red curry soup pulls the exact timings, the spice-control levers, the coconut-milk rules, and the store-bought-versus-scratch decision from the developers who publish full recipes, and it resolves where those sources disagree instead of papering over the split.
The AtlasPlate Recipe Desk cross-references regional recipes across multiple published sources, identifies the specific variant on the table, and extracts the exact ingredient roles, local terms, and timings without changing the core method. What follows is a guide, not a recipe card; where you need full quantities, the named source is linked so you can go straight to it.
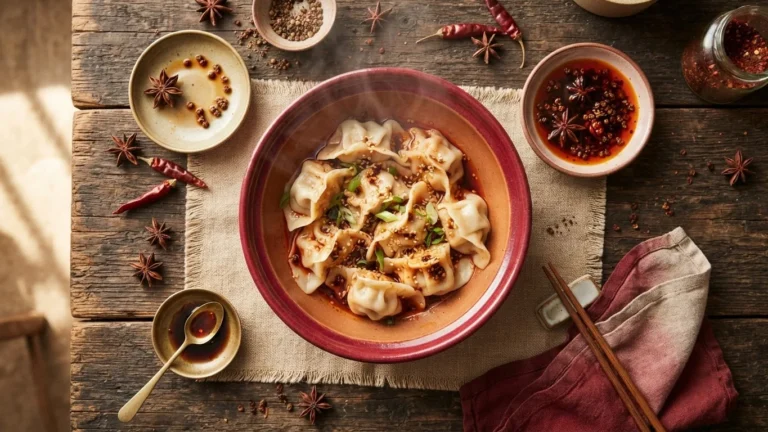
Red curry soup is a Thai coconut-and-curry-paste broth, usually poured over rice or glass noodles, built in three quick stages: aromatics for 3-4 minutes, a simmer of about 10 minutes, then noodles at the end. The one step both test kitchens call crucial is blooming the red curry paste in oil before adding liquid – it wakes up the aromatics. Heat is adjustable: start with half the paste, taste, add more. Store-bought paste is standard and legitimate; from-scratch takes over 30 minutes of pounding. Most versions are not vegan by default because the paste often hides shrimp paste or fish sauce.
Where Red Curry Soup Comes From, and What “Red” Actually Means
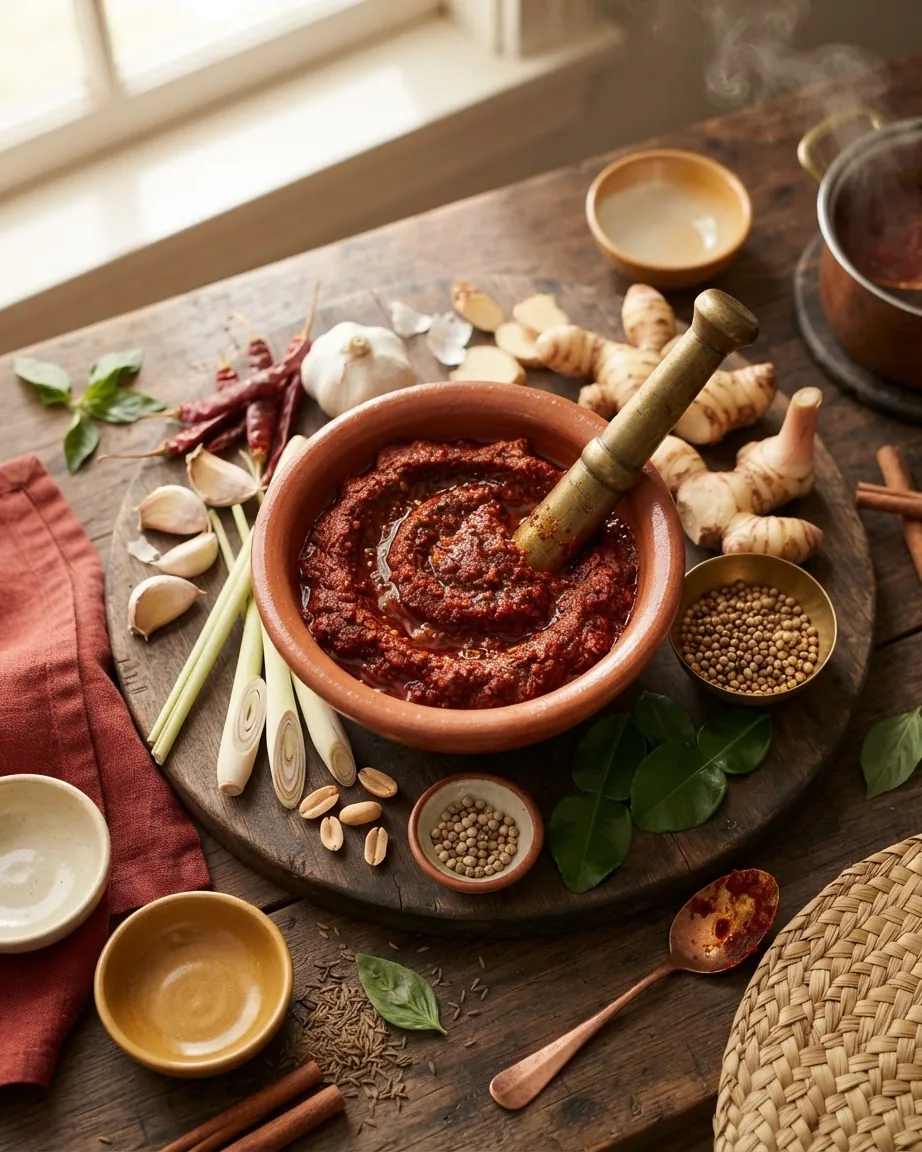
The dish is Thai. Its backbone is prik gaeng ped – Thai red curry paste – simmered with coconut milk, a technique that runs through central Thai curry cooking and gets adapted into a soupier, noodle-forward bowl for weeknight eating. The color comes from dried red chilies, not from any single spice, and the paste is a pounded blend of chilies, garlic, shallot, galangal, lemongrass, and other aromatics.
There is a wrinkle most short recipes skip: two different pastes carry the name “red curry paste.” Pailin Chongchitnant of Hot Thai Kitchen distinguishes prik gaeng ped, which includes toasted coriander and cumin seeds, from prik gaeng kua, a red paste made without those seeds. The seeds give prik gaeng ped its warmer, rounder aroma; prik gaeng kua is more chili-forward and is often used where the dish already has its own dominant seasoning. When a jar says only “red curry paste,” it is almost always the prik gaeng ped style.
Red is one of four curry pastes you will meet on the same shelf. Green paste uses fresh green chilies and reads herbaceous and often hotter; yellow paste carries turmeric and curry-powder notes and runs milder and more golden; massaman is the sweet-savory outlier, built with warm spices like cinnamon and cardamom and usually the gentlest of the group. Swapping one paste for another changes the color, the aroma, and the heat, but not the three-stage method below.
Do You Really Need to Sauté the Paste First?
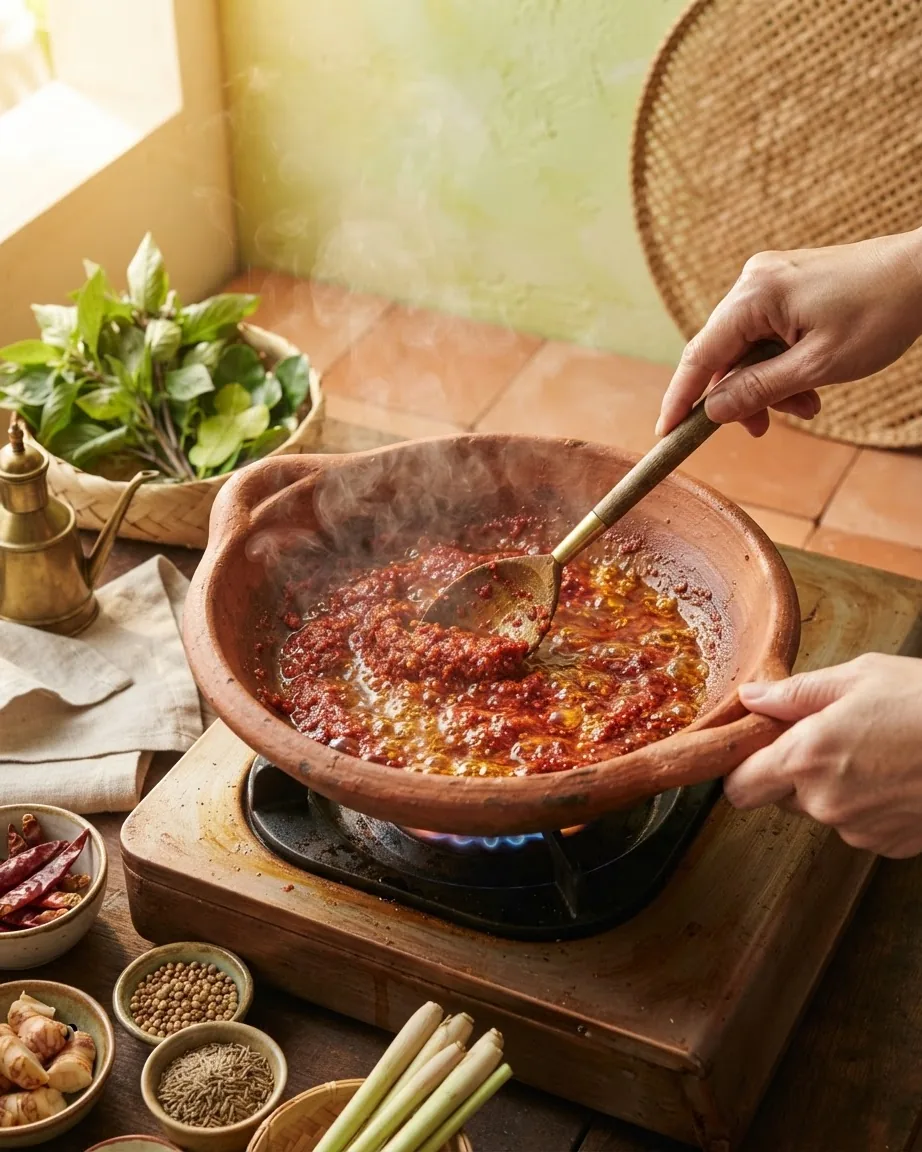
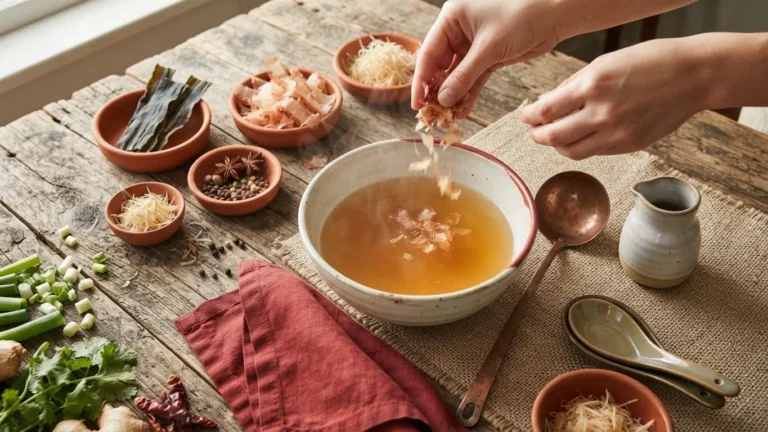
Yes, and this is where two independent sources line up. Serious Eats and the recipe developers below both treat blooming the paste in hot oil as the step that makes or breaks the bowl, not an optional flourish. The reason is mechanical: red curry paste is packed with oil-soluble aromatics – the chili pigments, the volatile oils in lemongrass and galangal – that only release into fat, not water. Drop the paste straight into coconut milk or broth and those compounds stay locked up, so the soup tastes thin and one-note even after a long simmer.
What blooming looks like at the counter: a spoonful or two of oil (or the thick cream that rises to the top of a can of coconut milk) over medium heat, the paste stirred in, cooked until it darkens slightly and smells sharply fragrant – usually a minute or two. You are looking for the raw, flat smell to turn into something that fills the kitchen. That sensory cue matters more than a clock; the moment the aroma blooms, the fat has done its job and you add liquid.
The Three-Stage Method, With the Timings Each Source Gives
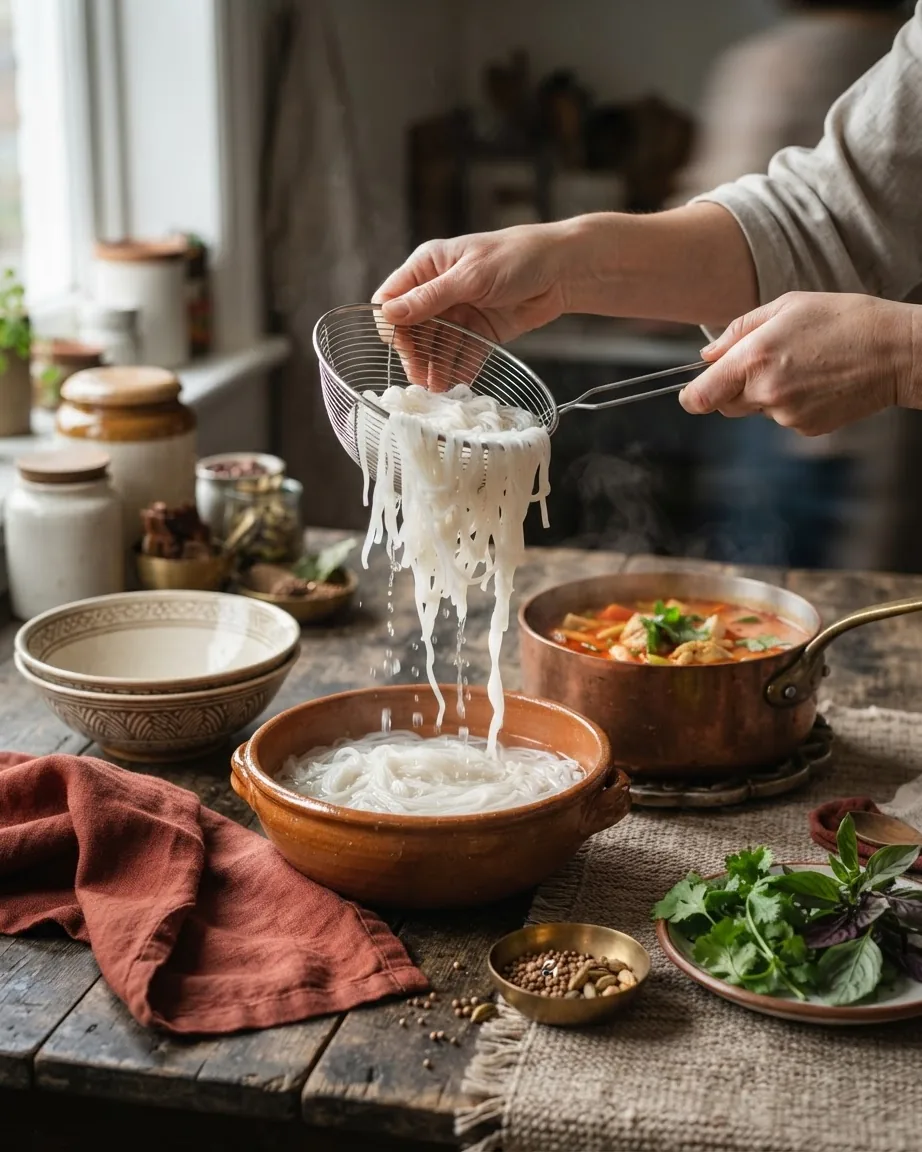
Strip red curry soup to its structure and it is three timed stages after the paste is bloomed. The figures below come from Damn Delicious, whose chicken red curry noodle soup lays out each interval.
- Aromatics – about 3-4 minutes. Damn Delicious cooks garlic, bell pepper, and onion “until tender, about 3-4 minutes.” This is the point to bloom the paste alongside them so the oil coats everything.
- Simmer – about 10 minutes. Once coconut milk and broth go in, the soup should “simmer until slightly reduced and the flavors have blended, about 10 minutes.” Reduction concentrates the coconut and lets the paste round out.
- Noodles – added last. Damn Delicious notes rice noodles “will cook quickly, about 5 minutes.” They go in near the end, off the main simmer, because they keep absorbing liquid.
That structure holds whether you are making a full-fat central-Thai style bowl or a fast weeknight one. The protein you use decides how much of the total time is hands-on. Rotisserie chicken or pre-cooked tofu drops the active cooking to little more than the aromatics-plus-simmer window, which is how the fastest published versions land near the 10-minute and 20-minute marks. For a broader look at how the same coconut-and-paste base becomes a noodle dish across regions, see our curry noodles guide.
How to Control How Spicy Red Curry Soup Comes Out
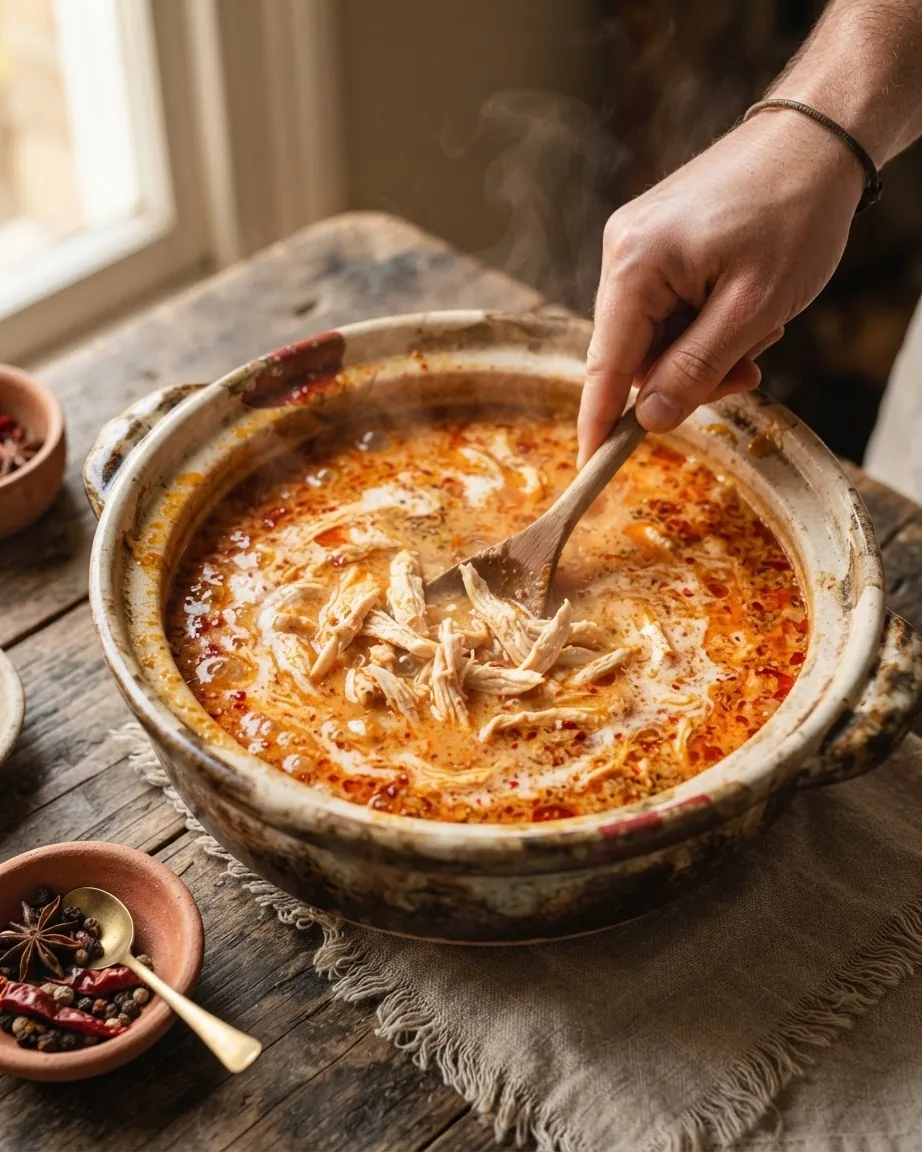
Heat in this dish is not a single setting – it is several levers, and the biggest mistake is treating the paste quantity as fixed. The developers who publish spice-control notes, including Cooking with Ayeh in a 30-minute tofu-and-vegetable version, agree on the safest approach: start with about half the paste the recipe calls for, taste after the simmer, then add more. You can always build heat up; you cannot pull it back out of the pot.
The other levers, from mildest to sharpest control:
- Which dried chilies the paste uses. Large mild dried chilies carry color and body with little burn; small dried chilies (the “spicy” ones) carry the heat. A from-scratch paste lets you set that ratio yourself.
- Seasonal variation. Chili heat is not constant batch to batch, so taste first rather than trusting a fixed measurement. The same weight of chili can land noticeably hotter or milder depending on the harvest.
- Store-bought’s single lever. With a jarred paste, you cannot change what is inside it, so quantity is your only control. That is the honest tradeoff of the shortcut: consistency in exchange for one dimension of adjustment.
Sweet, Salty, Sour, Spicy: Balancing the Bowl
Thai curries are seasoned to a four-way balance, and red curry soup is no exception. Coconut milk and often a pinch of palm or brown sugar carry the sweet; fish sauce (or soy/salt in a vegan build) carries the salty; a squeeze of lime at the finish carries the sour; the paste carries the spicy. The point of tasting at the end is not just checking heat – it is deciding which of the four is short. A bowl that tastes dull is usually missing salt or acid, not spice.
Add the lime off the heat, right before serving, so its brightness survives; boiling drives off the volatile aroma that makes citrus read as fresh. Sugar goes in during the simmer, where it dissolves and mellows the paste’s edge. This balancing is the same instinct behind our Japanese soup base notes, though the seasonings there are entirely different.
Coconut Milk: What to Buy, and Whether the Soup Freezes
Use canned full-fat coconut milk, not the carton “coconut beverage” sold for cereal – the carton version is watered down and will not give the soup body. The thick cream at the top of a chilled can is what many cooks use to bloom the paste. Once opened, transfer any leftover coconut milk to a sealed container and refrigerate.
Freezing the finished soup is where sources split, and the split is worth understanding rather than picking a side blindly. Damn Delicious states plainly that “freezing is not recommended as coconut milk tends to separate when frozen.” Cooking with Ayeh, on the other hand, says you can “Freeze Thai red curry noodle soup for up to 2 months.” Neither claim is wrong; the two are simply responding to questions that differ a little from each other.
The variable is the noodles and your tolerance for texture change. If you freeze the broth without noodles and add freshly cooked ones after thawing, the up-to-2-months window is workable – but expect some coconut-milk separation on reheating, which a gentle stir over low heat usually pulls back together. If you freeze the whole bowl, noodles included, you get both the separation and mushy noodles. The practical resolution: freeze broth only, cook noodles fresh, and accept a little separation as the cost.
Which Noodles, When to Add Them, and How to Keep Them From Turning to Mush
Two noodle types dominate red curry soup, and each has its own handling. Rice noodles (thin vermicelli or wider rice sticks) are the common choice; glass noodles (mung-bean “cellophane” noodles) are the other. Both share one rule: they keep drinking liquid the whole time they sit in hot broth, so they turn soft fast and then mushy.
Cooking with Ayeh is blunt about rice noodles: “Don’t boil them as you do regular noodles as they will over cook, fall apart and become mushy.” The method there soaks rice noodles in boiling water for roughly 4 minutes rather than hard-boiling them. Note that Damn Delicious describes rice noodles as cooking “about 5 minutes” in the broth itself – different sources, different methods, so treat the soak-versus-simmer choice as a fork rather than a contradiction and follow whichever recipe you are cooking.
For glass noodles, EverydayMaven gives a precise cue in a fast rotisserie-chicken version: “Once the red curry broth is boiling, add the Malony glass noodles and set a timer for 5 minutes.” Alyssa Brantley’s approach puts the noodles in at the very end so they finish just as the bowl is served.
The habit that saves every version: if you are making the soup ahead, store noodles separate from broth and combine at serving. Noodles cooked in the broth keep absorbing liquid on the counter and in the fridge, so a batch that was perfect at dinner is a thick tangle by lunch. Serve immediately once the noodles go in.
Store-Bought Paste vs From-Scratch: Effort, Texture, and When Each Wins
There is a persistent idea that jarred paste is cheating. It is not. Most Thai cooks buy their curry paste, and jarred paste is a legitimate, long-keeping pantry staple that Serious Eats uses without apology in its own curry cooking. The reason to make your own is control: your own heat level, your own salt, your own chili ratio. If those matter to a given bowl, grind; if consistency and speed matter, buy.
Be honest about the labor before you commit. RecipeTin Eats’ Nagi Maehashi, referencing named Thai chefs, states that a from-scratch paste “is made by grinding the ingredients in a mortar and pestle and it takes over 30 minutes.” Her own account of the work is unvarnished: on the first attempt she was “cursing like a sailor less than 10 minutes in, chilli bits flying everywhere,” and on the second she “gave up 3 minutes in and scraped everything into a blender.” Hot Thai Kitchen puts a number on a hand-pounded batch: “It took me 16 minutes of pounding for this amount of curry paste in a 3-cup mortar.” All of that comes after a prior step, though: the dried chilies have to be soaked first – “at least 30 minutes, longer if possible, so they are softened.”
Why Homemade Paste (or the Broth) Comes Out Gritty, and the Blender Tradeoff
Grittiness in a from-scratch paste – and by extension a grainy broth – usually traces to one culprit: galangal that never fully broke down. Galangal is woody and fibrous, far harder than ginger, and it resists both blade and pestle. The second cause is the tool itself.
Here the two authorities genuinely disagree on method, and the disagreement is useful. Hot Thai Kitchen holds that a food processor or blender “will never get the paste as fine as it needs to be,” because pounding does something a blade does not – it crushes cell walls and extracts the chili oils that carry aroma and color, rather than just chopping. RecipeTin Eats endorses a blender with workarounds (adding a little liquid to keep things moving, scraping down repeatedly), having abandoned the mortar herself. This is a difference of tolerance, not fact: the mortar gives a finer, more aromatic paste; the blender gets you a usable one in a fraction of the time, with more grit. If you go blender, add liquid and expect to run it long, and you will still be trading some texture for the convenience.
Making Red Curry Soup Fully Plant-Based
The trap in a vegan red curry soup is not the coconut milk or the vegetables – it is the paste. Traditional red curry paste often contains shrimp paste (kapi) and the dish is usually finished with fish sauce, so a bowl that looks vegetable-forward can carry two hidden animal ingredients. Read the jar label; brands vary, and some are made without either.
Cooking with Ayeh’s tofu-and-vegetable build shows the plant-based path works cleanly once the paste is sorted: choose a paste labeled vegan (or grind your own without shrimp paste), and swap fish sauce for soy sauce, tamari, or a touch of salt plus a little extra lime for the savory-sour lift fish sauce would have given. Firm or extra-firm tofu, pressed and browned, stands in for the chicken. For more dishes where the plant-based question turns on one ingredient rather than the whole recipe, see our vegan Chinese recipes guide, and the wider asian recipes section.
Two Sets of Nutrition Numbers, and Why They Don’t Compare
You will find very different per-serving figures published for “red curry soup,” and it is worth knowing why before you read either as the truth. Cooking with Ayeh’s tofu-and-rice-vermicelli version, at 4 servings, lists Calories: 543kcal and Sodium: 202mg. EverydayMaven’s glass-noodle-and-rotisserie-chicken version, at 6 servings, lists Calories 253 and Sodium 796mg.
These are not a contradiction – they are two different recipes measured two different ways. The 543 kcal figure counts a larger, richer portion split four ways; the 253 kcal figure counts a lighter build split six ways. The sodium gap runs the other direction, because the two recipes season differently (and one leans on rotisserie chicken, which arrives pre-salted). The takeaway for planning a bowl: pick the recipe whose ingredients and serving count match what you are actually making, and use its numbers – don’t average across the two.
The Fastest Honest Version: A 10-Minute Bowl That Doesn’t Taste Rushed
A genuinely quick red curry soup is possible without the result tasting thrown together, and the levers are specific. Start with a jarred paste – one that already carries layered aromatics, tom-yum-style, so you inherit depth you did not have to build. Bloom it in oil (never skip this, even when rushing, since it is the step that separates a fast bowl from a flat one). Use a pre-cooked protein – rotisserie chicken or ready browned tofu – so nothing needs raw-to-done cooking time. Add quick-wilting greens like spinach or bok choy that soften in the residual heat.
The tradeoff is plain: a jarred-paste bowl reaches the table in around 10 minutes and near a 20-minute total including prep, but it will not have the aromatic layering a hand-ground paste gives. That depth is what you buy with the 30 minutes of pounding described above. For a weeknight, the 10-Minute route is the sensible trade; for a weekend where the paste itself is the project, grind. EverydayMaven and Damn Delicious both land near the fast end of that range with pre-cooked protein, which is why their versions read as 30-minute-or-under dishes rather than afternoon cooking.
Total Active Time on the Stove: About 19 Minutes
The three timed stages Damn Delicious lists add up to a figure no single line in the recipe states outright. Cooking aromatics for about 3-4 minutes, simmering for about 10 minutes, and cooking the noodles for about 5 minutes totals 18 to 19 minutes of active stovetop time (3 + 10 + 5 = 18 at the low end, 4 + 10 + 5 = 19 at the high end). That is the window you are actually committing to once the pan is hot, before counting time to open cans or measure paste.
What the arithmetic reveals: the simmer alone is 10 of those 19 minutes, or about 53% of the active time (10 / 19 x 100 = 53). It is the single longest stage, which is why pre-cooked protein such as rotisserie chicken or ready tofu is what lets the fastest versions land near the 10-minute mark – it removes cooking time from everywhere except that unavoidable simmer.
| Item | Value |
|---|---|
| Aromatics | 3-4 minutes |
| Simmer | 10 minutes (about 53% of the total) |
| Noodles | 5 minutes |
| Active total | 18-19 minutes |
Frequently Asked Questions
How hot is red curry soup on a 0-to-3 scale?
It is fully adjustable, and heat is not fixed batch to batch because chili strength shifts by harvest. It sits below green curry, which usually reads hotter, and above massaman, the mildest of the four pastes. The reliable move is to start with about half the paste, taste after the simmer, and dial heat up with more rather than guessing from the recipe alone.
Can I use light coconut milk to cut calories?
You can, but the body and richness drop noticeably, since the fat is what carries both mouthfeel and the bloomed paste’s aroma. If you want a lighter bowl, the published glass-noodle-and-chicken version already lands at 253 calories per serving across six servings – choosing that leaner recipe outright beats diluting a richer one with light coconut milk.
What if I don’t have galangal for a from-scratch paste?
Galangal is woody and fibrous, and if it does not fully break down it is a leading cause of a gritty paste, so mince it very fine first.
Where do I find red curry paste and rice noodles near me?
Jarred red curry paste now sits in the international aisle of most large US supermarkets, alongside coconut milk; Asian groceries stock a wider brand range plus the dried chilies for grinding your own. Rice and glass noodles live in the same aisle or at any Asian grocer, and both keep well online if your store runs thin on options.
How long does homemade paste keep, and can I make it ahead?
Hot Thai Kitchen’s guidance: use it right away, refrigerate up to 3 days, or portion and freeze for a few months. Freezing in tablespoon-sized amounts means you bloom a single serving’s worth straight from frozen without thawing the whole batch. Making the paste ahead is the standard way cooks make the 30-minute grind pay off across several meals.