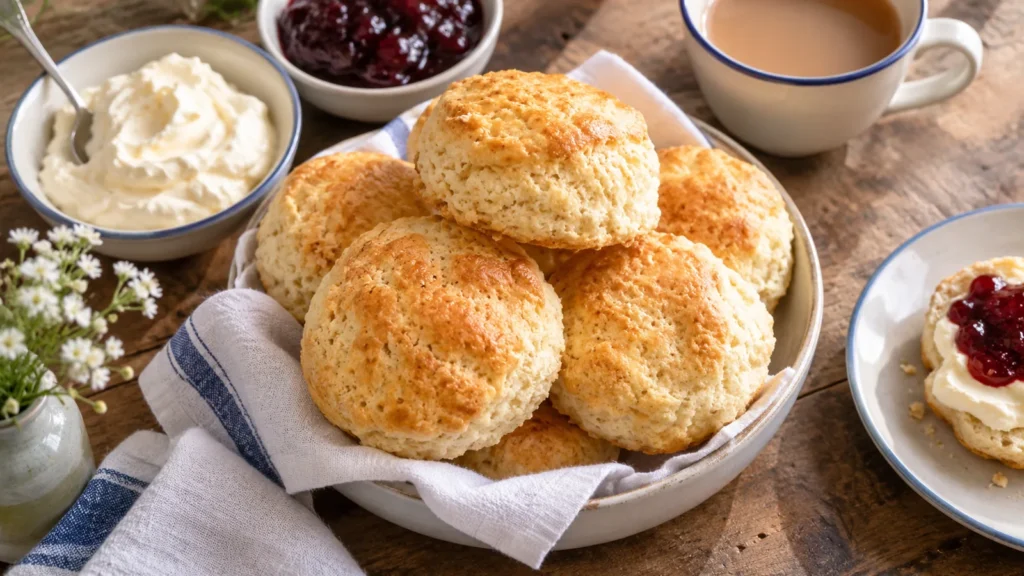
An authentic english scone recipe is a plain, small, tall bake: flour, a measured dose of leavening, cold butter rubbed in, milk, a hot oven, and nothing sweet enough to compete with the jam. The two published recipes read in full for this article, Sarah Ozimek’s British scones at Curious Cuisiniere and Barry C. Parsons’s Proper English Scones at Rock Recipes, agree on that shape and disagree on the details that matter to a home baker: how much baking powder, how thick to press the dough, what temperature to bake at, and whether an egg belongs in the bowl. This article follows the Curious Cuisiniere formula, keeps the Rock Recipes numbers alongside it where they differ, and adds the three things neither page explains in one place: why scones refuse to rise, why a teaspoon of baking powder is not a fixed weight, and which order the cream and the jam go on.
Quick answer: weigh 250 g of all-purpose flour, add 4 tsp (8 g) of fresh baking powder, ½ tsp salt and 2 Tbsp sugar, rub in 3 Tbsp of cold butter, bring it together with about ⅔ cup of milk, press the dough 1 inch thick, cut it with a 2 inch cutter pushed straight down, glaze with egg yolk, and bake at 425°F for 12 to 15 minutes until the tops are evenly browned. Cool, split, and dress with clotted cream and strawberry jam in whichever order your county allows.
What makes a scone “authentic”: self-raising flour and its substitute
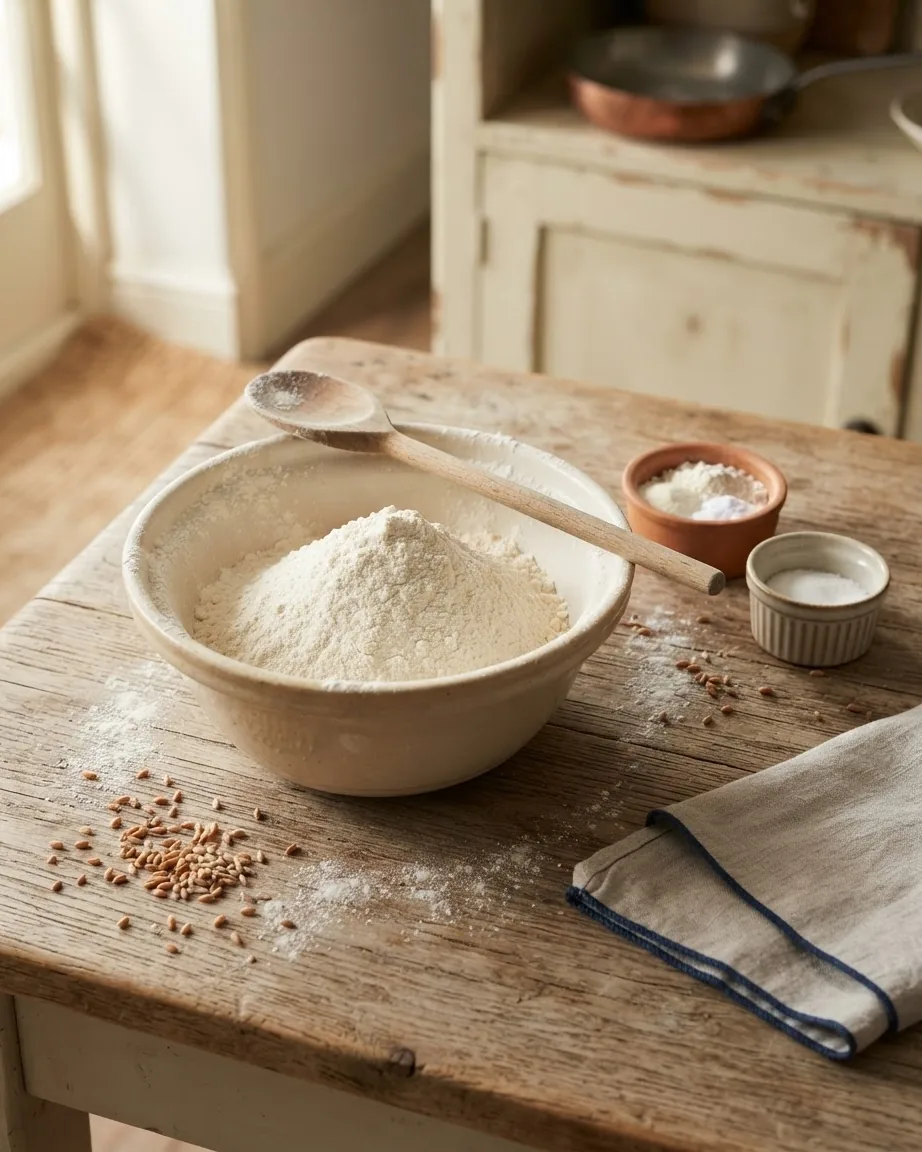
The ingredient that defines a traditional British scone is not the butter or the milk but the flour. Traditional recipes in Britain reach for self-raising flour, a flour that already carries its leavening blended in. The recipes written for American readers, including both pages read for this article, reproduce that flour with all-purpose flour plus added baking powder. That is a substitute, not the same ingredient, and the distinction is worth keeping in mind for two reasons. First, the two approaches put the leavening decision in different hands: with self-raising flour the mill has already fixed the dose, while with all-purpose flour and baking powder the dose is yours to get right or wrong. Second, it explains why so much of the disagreement between published scone recipes is really a disagreement about baking powder. Neither route is more authentic than the other in the finished scone; one simply asks more of the baker.
Because this article uses the all-purpose route, the baking powder measurement gets its own section below. If you are baking from a British book that calls for self-raising flour, skip the added powder entirely and follow that book’s quantities. If you want the wider picture of how Northern European bakers handle leavened doughs, the European recipes section collects related methods.
The two formulas side by side
The Curious Cuisiniere recipe is written in both weight and volume, which is the reason this article follows it: 2 c (250 g) unbleached all-purpose flour, 2 Tbsp (27 g) sugar, 4 tsp (8 g) baking powder, ½ tsp (2 g) salt, 3 Tbsp (42 g) cold unsalted butter, and ⅔ c (158 ml) milk, glazed with an egg yolk beaten with 1 Tbsp of milk. It bakes at 425°F, yields 10 scones from dough pressed roughly 1 inch thick and cut into 2 inch circles, and lists 25 minutes of preparation, 12 minutes of baking and 37 minutes in total.
The Rock Recipes version is written in North American volume measures: 1⅔ cups all-purpose flour, 2½ tsp baking powder, 3 tbsp white sugar, a pinch of salt, 3 tbsp butter, ½ cup milk, 1 egg, and an optional ½ tsp of vanilla. It bakes at 400 degrees F, the dough is formed about ¾ of an inch thick and cut with a 1½ inch biscuit cutter, and the scones go in for about 12 to 15 minutes or until the tops are evenly browned, with larger scones taking about 20 minutes.
Read together, the two recipes bracket the range a home baker can trust. Sugar runs from 2 to 3 tablespoons; butter is 3 tablespoons in both; the liquid is milk in one and milk plus an egg in the other; the dough is pressed between ¾ inch and 1 inch thick; the oven sits between 400 and 425 degrees. The temperatures are not interchangeable, because the two recipes cut different sizes and yield different batches, so pick one recipe’s temperature and one recipe’s thickness and stay inside it. Averaging them produces a scone that belongs to neither page.
Baking powder: why a teaspoon is not a fixed weight
This is the section neither published page covers in full, and it is where most flat scones are made. Curious Cuisiniere lists 4 teaspoons of baking powder and gives the weight as 8 g, which works out to 250 g divided by 4 tsp, or 62.5 g of flour per teaspoon of powder. Sarah Ozimek also reports that when she weighs baking powder herself she always comes up with somewhere between 2 and 3 g per teaspoon, while the package equivalence she cites says 1 teaspoon is equal to 4 to 4.8 g depending on the brand. The source does not explain the gap, and this article does not resolve it, but the consequence is concrete: 8 g of baking powder is 4 level teaspoons by her spoon and less than 2 teaspoons by the package figure. Two bakers following the same line of the same recipe can end up with double or half the leavening.
The practical answer is to weigh it. A kitchen scale that reads to the gram removes the argument, and 8 g is the number to hit for 250 g of flour. If you must use spoons, level them and lean toward the recipe’s own count rather than the package conversion, because the recipe was developed with that spoon. Over-dosing is not free either: too much baking powder pushes the scone up fast and then leaves a metallic, soapy aftertaste in the crumb, which is the flavor most people describe when they say a scone tastes “of the shop”.
Freshness matters as much as quantity. Curious Cuisiniere’s troubleshooting is direct on this point: baking powder should be less than 6 months old for best performance. An open tin that has sat in a humid cupboard since last winter will look fine and lift almost nothing. If you cannot remember when you opened it, replace it before you bake.
Flour by weight, and the 30 percent scooping trap
The Rock Recipes page makes a point that applies to every scone recipe written in cups: scooping flour straight from the bag with the measuring cup packs it down and can over-measure flour for any recipe by as much as 30 percent or more. On a 250 g formula, that is the difference between a soft, sticky dough and a dry one that will not rise. Weighing sidesteps the problem entirely. If you only have cups, spoon the flour loosely into the cup and level it with a knife rather than dragging the cup through the bag.
The same logic explains why the Curious Cuisiniere recipe tells you to add the milk slowly and to keep adding beyond the listed ⅔ cup if the dough has not come together. Flour absorbs differently depending on how it was measured and how dry it is, so the recipe treats the milk quantity as a starting point and the dough’s feel as the target. The dough should be quite sticky with no dry lumps remaining. A dough that looks tidy and firm at this stage is a dough that was under-hydrated, and it will bake into something closer to a hard biscuit than a scone.
Butter, egg, and the texture each one buys
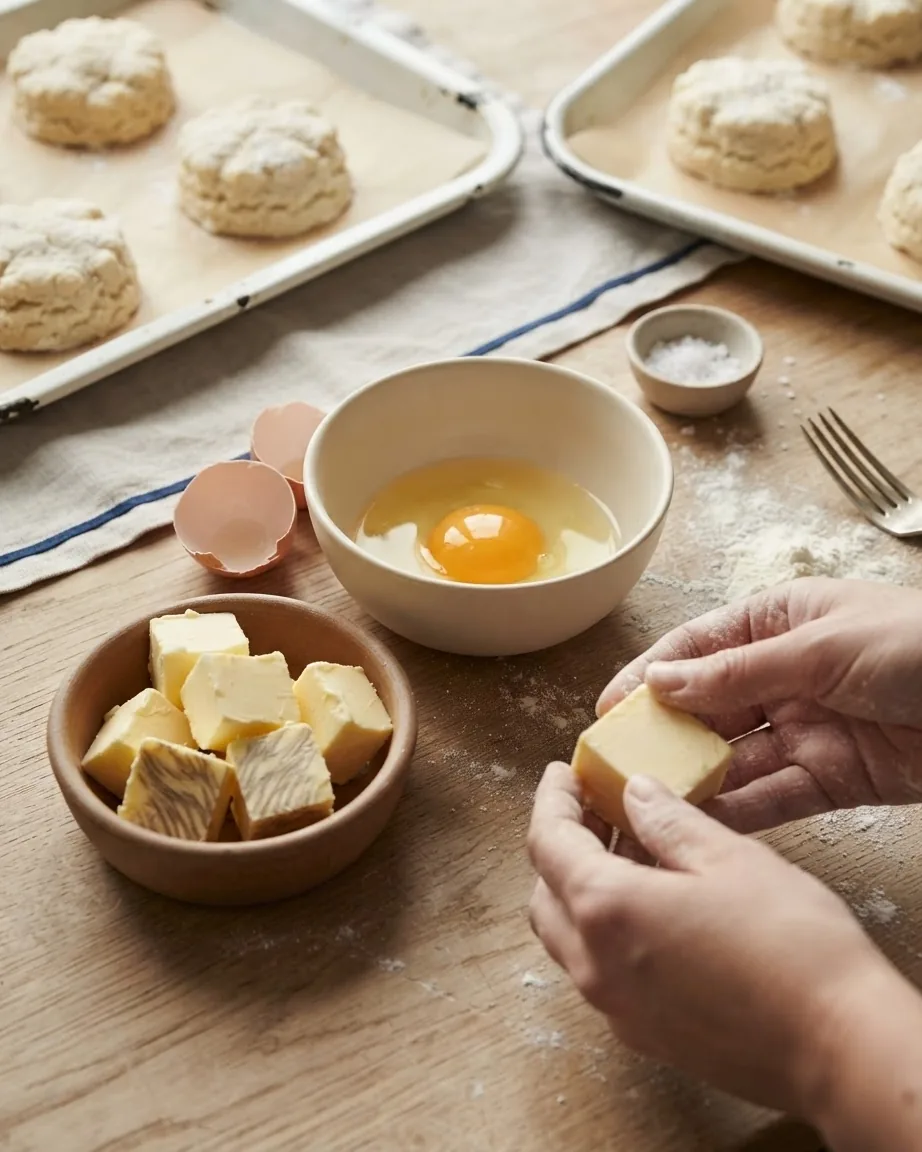
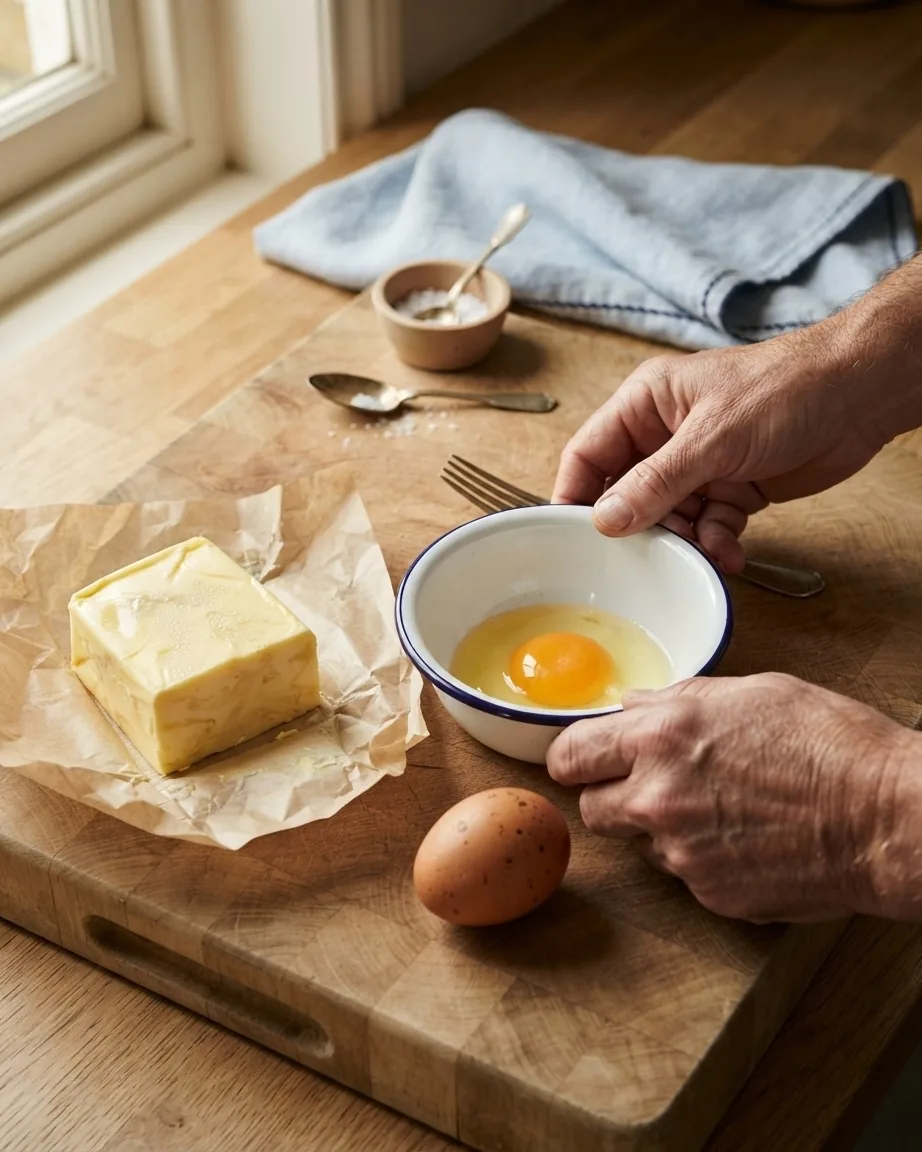
Both recipes use 3 tablespoons of cold butter and both work it into the dry ingredients until the mixture resembles fine breadcrumbs or a coarse meal. Curious Cuisiniere rubs the butter in by hand; Rock Recipes offers a food processor for the same step, with fingertips as the manual alternative. The rule they share is that the butter stays cold, because it is the melting of small pieces of solid fat in the oven that opens the crumb. Warm, smeared butter gives a dense, greasy scone no matter how good the leavening was.
The egg is the clearest difference between the two formulas, and it is a texture lever rather than a mistake on either side. Curious Cuisiniere uses no egg in the dough and reserves a yolk for the glaze; Rock Recipes whisks a whole egg into the milk. The research behind this article records the effect plainly: an egg in the dough gives a softer scone, and leaving it out gives crisper edges. If you want the tea-room scone that splits into a soft, cakey interior, keep the egg. If you want a slightly leaner crumb with more contrast between crust and middle, leave it out and follow the egg-free formula above. Either way, save a little of the liquid or a beaten yolk to brush the tops, because that glaze is what turns the scones a deep, even gold.
Thickness, the cutter, and why you never twist
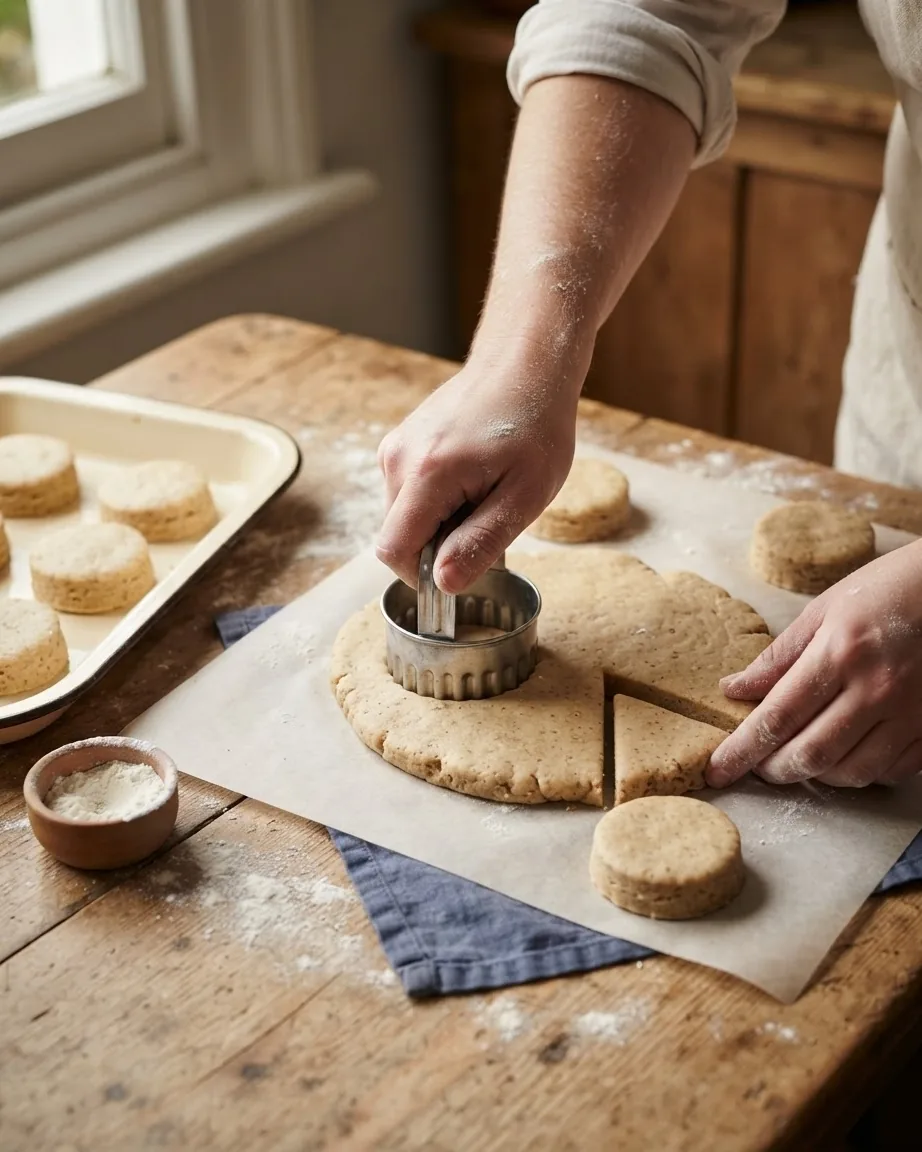
Curious Cuisiniere presses the dough into a round roughly 1 inch thick; Rock Recipes forms it about ¾ of an inch thick. Both are tall by American biscuit standards, and that is deliberate: a scone rises from the height it is given, so a thin round cannot become a tall scone. Between the two, the thicker press gives more lift and a softer center, the thinner one gives a slightly crisper scone that bakes a little faster.
The cut is the step both pages warn about. Flour the cutter well, press it straight down and lift it straight up. Curious Cuisiniere spells out the reason: twisting the cookie cutter will impact the amount of rise you get on your scones, because the twist seals and drags the cut edge, pinching shut the layers that need to open in the oven. A clean vertical cut leaves the sides free to spring upward. Rock Recipes re-rolls the scraps to cut the rest of the batch; do it once, lightly, because every re-roll works the dough a little harder and costs a little height.
Overworking is the third rise killer, and Rock Recipes names it in the mixing step: stir the liquid in quickly with a wooden spoon until a soft dough forms, and do not over-work the dough or your scones will get tough and not rise well. Curious Cuisiniere allows a brief knead, 2 to 3 turns on a well-floured surface, purely to coat the dough in flour and smooth the top. That is the whole budget. If the dough is still shaggy after that, more milk is the fix, not more kneading.
Oven temperature and bake time
The two recipes bake at different temperatures because they bake different scones. Curious Cuisiniere preheats to 425°F for 2 inch rounds cut 1 inch thick and bakes them for 12 to 15 minutes, until golden and firm. Rock Recipes preheats to 400 degrees F for 1½ inch rounds formed ¾ inch thick, bakes about 12 to 15 minutes or until the tops of the scones are evenly browned, and notes that larger scones take a little longer, about 20 minutes. The Curious Cuisiniere page adds a further caution for its own recipe: you may find that you need to bake them for an extra 5 minutes or so, but keep an eye on them.
Read the browning, not only the clock. A scone is done when the top is evenly golden, the sides look set rather than doughy, and it feels light when lifted. Ovens that run hot will brown the tops before the middle is baked, which is the case for dropping to the lower temperature; ovens that run cool are the case for the extra 5 minutes. Both recipes cool the scones on a wire rack, and Curious Cuisiniere suggests waiting 30 minutes before splitting them, with a clean tea towel laid over the rack if you prefer a softer crust.
Storing scones, reheating them, and the freezer
Baked British scones keep well in an airtight container on the counter for 2 to 3 days, according to Curious Cuisiniere, which is a longer window than most quick breads get. Past that, the crumb dries and firms. For longer holding, the same page says scones stay good in the freezer for 3 months, and that applies to shaped dough as well as to baked scones, so a batch can be cut, frozen on a tray, and baked from frozen on a later morning.
To bring a day-old scone back, Curious Cuisiniere recommends putting it in a low oven at 300°F or in a toaster oven for 5 to 10 minutes. That short, gentle reheat softens the crumb and re-crisps the crust without drying it out the way a microwave does. Split the scone after reheating, not before, so the inside keeps its steam.
Allergen warning
For general safe-handling guidance on baked and egg-containing foods, the USDA’s FoodKeeper resource is a useful reference on storage windows. The dough itself is egg-free in the formula above; only the glaze contains egg, and it can be replaced with a brush of milk for bakers avoiding eggs.
Cream first or jam first: the Devon and Cornwall order
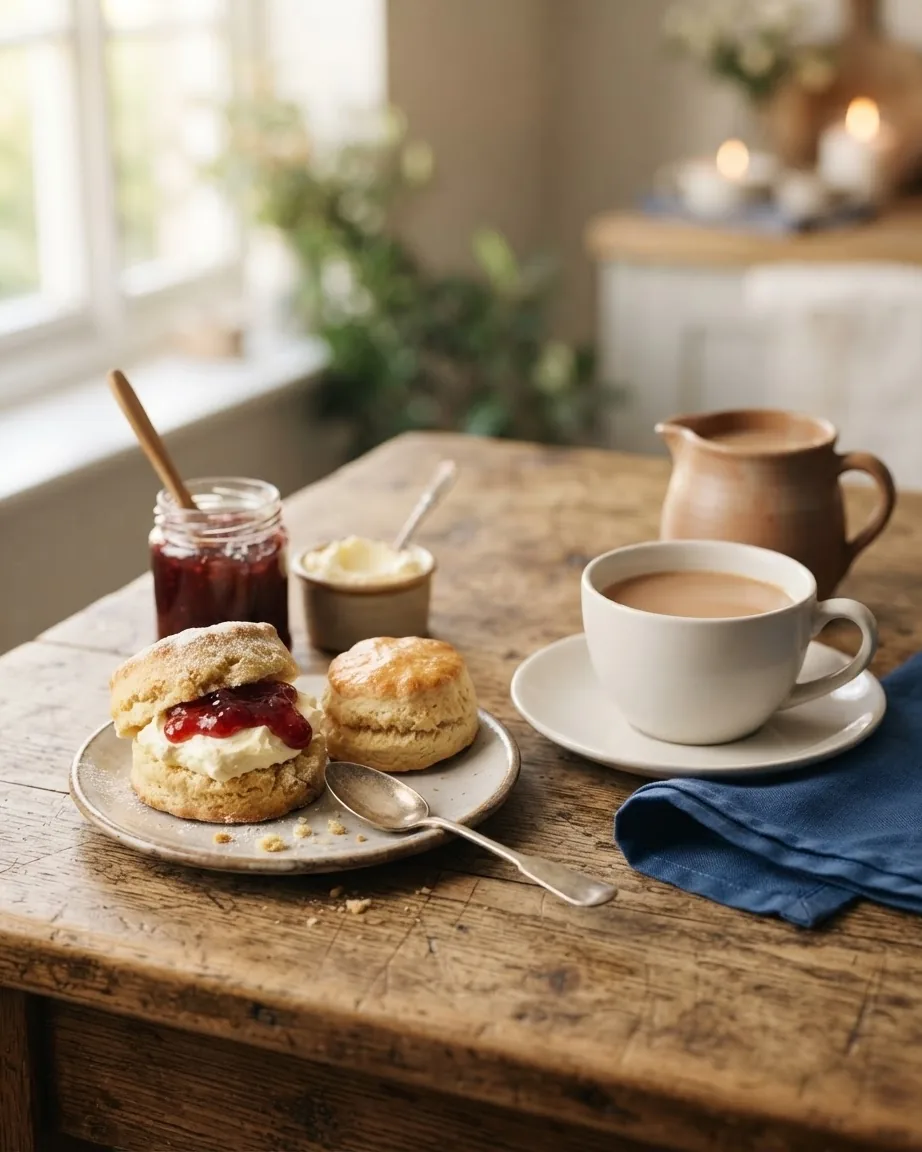
How you dress the scone is a regional identity in Britain, not a matter of taste alone. As Tasting Table’s reporting on the debate lays out, Devon holds that the proper way to layer a scone is scone, cream, and then jam, while Cornwall holds that the proper order is scone, jam, and then clotted cream. The scone underneath is identical; the argument is entirely about which of the two layers goes on first, and each county defends its side. The Oldie’s commentary makes the case in physical terms rather than cultural ones: each order changes how the two layers sit and spread on a warm, split scone, so the choice is not purely cosmetic.
The stakes are real. When the National Trust’s Lanhydrock house in Cornwall ran a Mother’s Day ad showing jam on top of cream, Fox News / The Daily Meal reported that around 300 people commented to call the sight “horrifying”. Neither of the two recipe pages read for this article gives any serving guidance at all, which is a gap worth closing: for a reader looking for an authentic english scone recipe, “authentic” covers the plate as much as the oven. Neither order is more correct than the other; they are two authentic conventions from two counties. Pick one and know which camp you have joined. If regional method disputes like this interest you, similar splits are documented in a Costa Rican versus Nicaraguan comparison and competing ratios are reconciled across sources in a dal bhat breakdown.
Scone or biscuit: the distinction that trips American bakers
An American baker meeting this recipe will notice how close it sits to a buttermilk biscuit: flour, leavening, cold fat, liquid, a hot oven. The differences are in degree. A British scone carries a little sugar, is often glazed with egg, is cut small and tall, and is eaten split under cream and jam rather than under gravy or butter. It uses less fat than a Southern biscuit and is handled even less, so the crumb is finer and more even rather than flaky in sheets. A scone that has been rolled thin, cut with a twist, and baked pale is, in effect, a poor biscuit; the whole method above exists to keep it from becoming one.
The leavening ratio, reconciled: grams of flour per teaspoon of baking powder
The recipe above gives its baking powder in both spoons and grams, so the ratio can be stated as a single figure a baker can carry to any batch size. Divide the flour by the baking powder and you get grams of flour per teaspoon of powder, which tells you how hard the formula is pushing for lift (a lower number means more leavening per gram of flour):
- Curious Cuisiniere (this recipe): 250 g ÷ 4 tsp = 62.5 g of flour per teaspoon of baking powder, or 8 g of powder for 250 g of flour.
- By the author’s own spoon: at 2 g per teaspoon, 8 g ÷ 2 g = 4 teaspoons, which is exactly the count the recipe lists; at 3 g per teaspoon, 8 g ÷ 3 g = 2.7 teaspoons.
- By the package equivalence: at 4 g per teaspoon, 8 g ÷ 4 g = 2 teaspoons; at 4.8 g per teaspoon, 8 g ÷ 4.8 g = 1.7 teaspoons.
The takeaway: the same “8 g” line can mean a range of different teaspoon counts depending on whose conversion you trust. That spread is bigger than the difference between a tall scone and a flat one, which is why this article’s single firmest recommendation is to weigh the baking powder to 8 g and ignore the spoons. Scale the flour and the powder together, 62.5 g of flour for every teaspoon at the recipe’s own 2 g weight, and the ratio holds at any batch size.
FAQ
Why did my scones come out flat?
Three causes account for almost every flat batch, and they are the three that the published pages mention separately but never together: the cutter was twisted on the way down, which seals the edges and stops the rise; the baking powder was stale, and Curious Cuisiniere advises it should be less than 6 months old for best performance; or the dough was overworked, which Rock Recipes warns makes scones tough and stops them rising well. Press the cutter straight down, replace old baking powder, and stop handling the dough the moment it comes together.
How much baking powder goes into an authentic English scone?
The published formula this article follows uses 4 tsp (8 g) of baking powder for 2 c (250 g) of all-purpose flour, which is 62.5 g of flour per teaspoon. Because the weight of a teaspoon of baking powder varies from 2 to 3 g on the author’s scale to 4 to 4.8 g by package equivalence, weigh the 8 g rather than counting spoons if you can.
Can I make English scones without eggs?
Yes. The Curious Cuisiniere formula above has no egg in the dough at all; only the glaze uses a yolk, and a brush of milk can replace it. Leaving the egg out gives crisper edges, while a whole egg in the dough, as Rock Recipes uses, gives a softer scone. Both are authentic; they are two textures, not a right and a wrong.
What is the correct oven temperature for authentic English scones?
It depends on the recipe you follow, because the two source pages bake different sizes. Curious Cuisiniere bakes 1 inch thick, 2 inch rounds at 425°F for 12 to 15 minutes; Rock Recipes bakes ¾ inch thick, 1½ inch rounds at 400 degrees F for 12 to 15 minutes, or about 20 minutes for larger scones. Follow one recipe’s temperature with that recipe’s thickness, and judge doneness by evenly browned tops rather than the clock.
How long do baked scones keep?
In an airtight container on the counter, 2 to 3 days. In the freezer, 3 months, baked or as cut dough. To reheat, use a low oven at 300°F or a toaster oven for 5 to 10 minutes rather than a microwave.
Cream first or jam first?
Devon puts the cream on first and the jam on top; Cornwall puts the jam on first and the cream on top. Both are authentic regional conventions, and the two recipe pages read for this article take no side because neither gives serving guidance. Choose one, and expect the other county to object. That is the full picture the two sources support: a weighed 250 g of flour with 8 g of baking powder that is less than 6 months old, cold butter rubbed to breadcrumbs, a sticky dough pressed 1 inch thick and cut straight down, a 425°F bake of 12 to 15 minutes read by the color of the tops, and 2 to 3 days on the counter or 3 months in the freezer afterward. Where the two published cooks differed, on the egg, the thickness and the temperature, both answers were kept on the table so you can pick the scone you are after, and the cream-or-jam question was left exactly where Britain leaves it.

Authentic English Scone Recipe: the Tested Ratio, the Rise Killers, and the Cream-or-Jam Question
Ingredients
- 2 c (250 g) unbleached all-purpose flour
- 2 tbsp (27 g) sugar
- 4 tsp (8 g) baking powder, less than 6 months old
- ½ tsp (2 g) salt
- 3 tbsp (42 g) unsalted butter, cold
- ⅔ c (158 ml) milk, plus more if needed
- 1 egg yolk beaten with 1 Tbsp milk, to glaze
- Strawberry jam, to serve
- Clotted cream, at room temperature, to serve
Instructions
- Preheat the oven to 425°F. Grease and flour a baking sheet, or line it with parchment.
- In a medium bowl, mix the flour, sugar, baking powder and salt until well combined.
- Add the cold butter. Rub the mixture together with your fingers to break up the butter until it resembles fine breadcrumbs.
- Add the milk slowly, mixing as you pour, using enough to bring the dough together with no dry lumps remaining. The dough should be quite sticky; if the listed milk is not enough, keep adding a little at a time until it is.
- Spoon the dough onto a well-floured surface. Dust the top generously and knead 2 to 3 times, only to coat it in flour and smooth the surface. Press the dough into a round roughly 1 inch thick.
- Using a well-floured 2 inch cutter, cut the dough into circles, pressing straight down and lifting straight up without twisting. Gather and press the scraps once to cut the last scones.
- Place the rounds on the prepared sheet and brush the tops gently with the egg yolk and milk mixture.
- Bake for 12 to 15 minutes, until golden and firm, adding up to 5 minutes if the tops are still pale.
- Cool on a wire rack for 30 minutes before splitting. For softer scones, cover them with a clean tea towel as they cool.
- Split each scone and dress with clotted cream and strawberry jam.